VMwareのネットワーク確認
VMwareのネットワーク環境を確認します。「接続」の「VMware Network Adapter VMnet8」をクリックします。
「VMware Network Adapter VMnet8の状態」ダイアログで「プロパティ」をクリックします
「VMware Network Adapter VMnet8のプロパティ」ダイアログで「インターネット プロトコル バージョン 4(TCP/IPv4)」を選択して「プロパティ」をクリックします。
表示されたIPアドレスをメモします

VMwareのネットワーク共有
「ローカルエリア接続」をクリックします

「ローカルエリア接続の状態」で「プロパティ」ボタンをクリックします
「ローカルエリア接続のプロパティ」の「共有」タグを開いて、「ネットワークのほかのユーザに、このコンピュータのインターネット接続をとおしての接続を許可する」にチェックします
「ホームネットワーク接続」で「VMware Network Adapter VMnet8」を指定します

「OK」を押すと何やら警告めいた画面が出ますが、ひるまずに閉じます。
CentOSのネットワーク設定
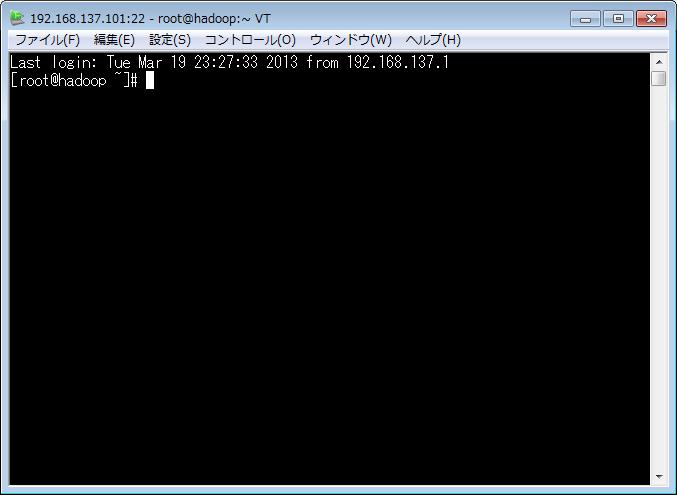
ゲストOSでrootユーザでログインします。
hadoop login:root
Password:
Last login: ...
[root@hadoop ~]#
ネットワーク設定のため、ifcfg-eth0をviで開きます
[root@hadoop ~]# vi /etc/sysconfig/network-scripts/ifcfg-eth0
ほとんど何も書かれていないので、[i](insert mode)して、以下の設定を記載し、[Esc]+[:wq]で書き込み終了します(ボールドが変更する箇所)
DEVICE="eth0"
BOOTPROTO=static
HWADDR="xx:xx:xx:xx:xx:xx"
IPADDR=192.168.137.101
NETMASK=255.255.255.0
NETWORK=192.168.137.0
GATEWAY=192.168.137.1
BROADCAST=192.168.137.255
NM_CONTROLLED="no"
ONBOOT="yes"
PEERDNS="no"
DNS設定のため、/etc/resolv.confをviで開きます
[root@hadoop ~]# vi /etc/resolv.conf
何も書かれていないので、[i](insert mode)で設定を記載して、[Esc]+[:wq]で書き込み終了します
nameserver 192.168.137.1
ネットワークを再起動します
[root@hadoop ~]# /etc/rc.d/init.d/network start
ifconfigでネットワーク確認します
[root@hadoop ~]# ifconfig
eth0      Link encap:Ethernet  HWaddr xx:xx:xx:xx:xx:xx
          inet addr:192.168.137.101  Bcast:192.168.137.255  Mask:255.255.255.0
          inet6 addr: fe80::20c:29ff:fe16:27c3/64 Scope:Link
          UP BROADCAST RUNNING MULTICAST  MTU:1500  Metric:1
          RX packets:697 errors:0 dropped:0 overruns:0 frame:0
          TX packets:178 errors:0 dropped:0 overruns:0 carrier:0
          collisions:0 txqueuelen:1000
          RX bytes:79044 (77.1 KiB)  TX bytes:17405 (16.9 KiB)

lo        Link encap:Local Loopback
          inet addr:127.0.0.1  Mask:255.0.0.0
          inet6 addr: ::1/128 Scope:Host
          UP LOOPBACK RUNNING  MTU:16436  Metric:1
          RX packets:53 errors:0 dropped:0 overruns:0 frame:0
          TX packets:53 errors:0 dropped:0 overruns:0 carrier:0
          collisions:0 txqueuelen:0
          RX bytes:4928 (4.8 KiB)  TX bytes:4928 (4.8 KiB)
Tera Termから接続
ホストOS(Windows)で「Tera Term」を起動します。ホストにCentOSのIPアドレスを指定し、サービスを「SSH」を指定して「OK」をクリックします。

「セキュリティ警告」が表示されますが、ひるまずに「OK」をクリックします。

ユーザ名を「root」、パスフレーズにパスワードを指定して「OK」をクリックします

無事接続されました。おめでとうございます。
Proxy経由でyum,wget
Proxyが設定されているネットワーク環境の場合、yum.confで設定する必要があります。yum.confをviで開きます
[root@hadoop ~]# vi /etc/yum.conf
proxyのhost(proxy.yourcompany.com)とport(8080)を以下のように記述します
proxy=http://proxy.yourcompany.com:8080
yum updateでOSをアップデート
[root@hadoop ~]# yum update
盲目的にyes
Is this ok [y/N]: y
どんなことがあっても盲目的にyes
警告: rpmts_HdrFromFdno: ヘッダ V3 RSA/SHA1 Signature, key ID c105b9de: NOKEY Retrieving key from file:///etc/pki/rpm-gpg/RPM-GPG-KEY-CentOS-6 Importing GPG key 0xC105B9DE: Userid : CentOS-6 Key (CentOS 6 Official Signing Key)Package: centos-release-6-2.el6.centos.7.x86_64 (@anaconda-CentOS-201112091719.x86_64/6.2) From : /etc/pki/rpm-gpg/RPM-GPG-KEY-CentOS-6 Is this ok [y/N]: y
しばらくしたら終わります。
  udev.x86_64 0:147-2.46.el6
  upstart.x86_64 0:0.6.5-12.el6
  util-linux-ng.x86_64 0:2.17.2-12.9.el6
  vim-minimal.x86_64 2:7.2.411-1.8.el6
  xfsprogs.x86_64 0:3.1.1-10.el6
  yum.noarch 0:3.2.29-40.el6.centos
  yum-plugin-fastestmirror.noarch 0:1.1.30-14.el6
  zlib.x86_64 0:1.2.3-29.el6

Complete!
wget をインストールします
[root@hadoop ~]# yum -y install wget
wgetのProxyを設定するため、wgetrcをviで編集します
[root@hadoop ~]# vi /etc/wgetrc
http_proxyの行を追加します
# You can set the default proxies for Wget to use for http, https, and ftp.
# They will override the value in the environment.
#https_proxy = http://proxy.yoyodyne.com:18023/
#http_proxy = http://proxy.yoyodyne.com:18023/
#ftp_proxy = http://proxy.yoyodyne.com:18023/
http_proxy = http://proxy.yourcompany.com:8080/
https_proxy = https://proxy.yourcompany.com:8080/
ftp_proxy = http://proxy.yourcompany.com:8080/
次回に続く
0 件のコメント:
コメントを投稿